Linux|Ubuntu 配置与软件推荐

前段时间突然想体验一下 Ubuntu 操作系统,经过各种采坑,终于通过网上各种文档和教程配置好了系统,目前 Ubuntu + win10 双系统已经使用了快 3 个月(三个月来就用了不到 1 小时 windows,Ubuntu 真香),体验还不错,来谈点心得,并附上一些安装总结与软件推荐
安装总结与一些坑
首先安装 ubuntu 20.04 系统,网上有很多教程,这里不再赘述,如:这个
屏幕亮度调节
部分使用 NVIDIA 显卡的机型安装 Ubuntu 系统时候可能出现屏幕亮度无法调节的情况(似乎这是 Ubuntu 与 NVIDIA 兼容不好的问题?)。个人使用的是 R9000P AMD Ryzen 7 5800 + 3070 。
一开始尝试独显直连(NVIDIA 驱动 460),但安装时候遇到了不少坑,大部分问题与 这里的描述 一致。尝试后发现以下几种方案可调节亮度:
- 使用 NVIDIA X SETTING 直接调整,
- 使用
xrandr --output DP-4 --brightness 0.5直接调节亮度 - 或用第三方工具直接在屏幕上加一层滤镜
但这些方法体验都不是很好,有时候进程出错可能需要手动再运行程序去调节,另外部分色彩的显示有肉眼可见的偏差。一个比较完美的(也是我目前使用的)解决方案是在显卡混合模式(Hyber mode)下使用 AMD 显卡调节屏幕亮度。这种解决方案需要 linux 内核 5.10,或 5.11 版本。
更新 linux 内核可以使用 mainline 软件,它提供了图形化界面,操作方便。
sudo add-apt-repository ppa:cappelikan/ppa
sudo apt update
sudo apt install mainline
安装好后选择要安装的内核版本,(笔者使用 5.10.30)重新启动系统。因为新发型的 5.10 版本没有安全签名,所以重启后可能会黑屏,这时候进入 BIOS 把 security boot 关掉再重试就行了。
使用新的内核登录系统,然后更改 /etc/default/grub 中的配置:sudo vim /etc/default/grub
更改这一项: GRUB_CMDLINE_LINUX_DEFAULT="quiet splash amdgpu.backlight=0"
然后 sudo update-grub , 重启reboot 后就可以调节屏幕亮度了。参考链接
NVIDIA 驱动
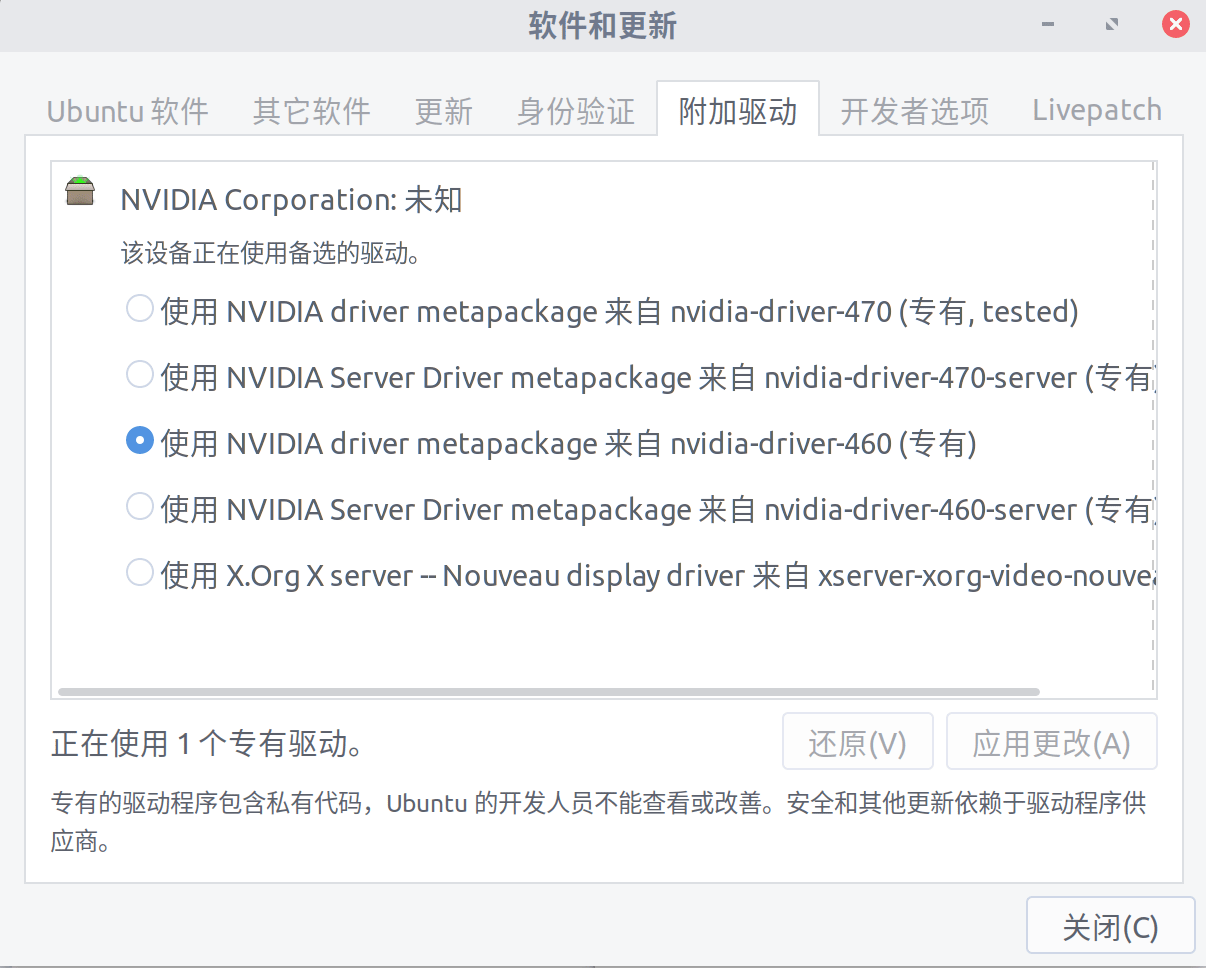
网上有不少 NVIDIA 驱动安装教程,尝试了 3-4 种驱动安装方案绿屏或黑屏之后,个人推荐使用系统自带的驱动安装软件进行安装,省掉不少麻烦:
首先禁用 nouveue,修改 /etc/modprobe.d/blacklist.conf 文件:
sudo vim /etc/modprobe.d/blacklist.conf
在最后一行插入blacklist nouveau
之后安装驱动:打开 软件与更新 software> 附加驱动 additional driver 选择驱动版本,跟随系统提示安装即可。

配置工作与学习环境
安装好系统与驱动后开始搭建我们的工作环境:
基础依赖
首先安装一些我们可能用到的依赖与工具,个人喜欢先把各种可能用到的依赖更新一遍:
apt-get update -y && apt-get install -y \
    git \
    cmake \
    libsm6 \
    libxext6 \
    libxrender-dev \
    python3 \
    python3-pip \
    python3-venv \
    python3-dev \
    python3-numpy \
    gcc \
    build-essential \
    gfortran \
    wget \
    curl \
    cmake\
    automake \
    python-dev \
    python-numpy \
    graphicsmagick \
    libgraphicsmagick1-dev \
    libatlas-base-dev \
    libavcodec-dev \
    libavformat-dev \
    libgtk2.0-dev \
    libjpeg-dev \
    liblapack-dev \
    libswscale-dev \
    pkg-config \
    software-properties-common \
    libgstreamer-plugins-base1.0-dev\
    libgstreamer1.0-dev\
    libgtk-3-dev\
    zip \
    g++ \
    net-tools \
    openssh-server \
    openssl \
    openssl-dev* \
    npm
深度学习
根据 NVIDIA 显卡型号与驱动进行安装,安装后就可以配置 docker 来进行深度学习的模型训练。
typora
应用商店下载
# or run:
# sudo apt-key adv --keyserver keyserver.ubuntu.com --recv-keys BA300B7755AFCFAE
wget -qO - https://typora.io/linux/public-key.asc | sudo apt-key add -
# add Typora's repository
sudo add-apt-repository 'deb https://typora.io/linux ./'
sudo apt-get update
# install typora
sudo apt-get install typora
git
sudo apt install git
config --global user.name "kevinng77"
config --global user.email "417333277@qq.com"
cd ~
ssh-keygen -t rsa -C "417333277@qq.com"
资源监视器
可以在状态栏实时显示计算机资源使用情况,很方便。
sudo apt install indicator-multiload
ZSH
sudo apt install zsh
oh-my-zsh 安装
为终端注入灵魂,除了支持终端皮肤设置,还支持各种终端个性化操作,如自定义命令等。建议根据官方 指南安装。
sh -c "$(curl -fsSL https://raw.github.com/ohmyzsh/ohmyzsh/master/tools/install.sh)"
若失败可尝试通过 git 仓库直接安装,然后复制里面的配置文件
git clone https://github.com/ohmyzsh/ohmyzsh.git
./ohmyzsh/tools/install.sh
安装好后可以自行添加主题或对应插件,添加插件指南:on-my-zsh 相关插件
# 部分插件安装
apt install autojump
git clone https://github.com/zsh-users/zsh-autosuggestions ${ZSH_CUSTOM:-~/.oh-my-zsh/custom}/plugins/zsh-autosuggestions
git clone https://github.com/zsh-users/zsh-syntax-highlighting.git ${ZSH_CUSTOM:-~/.oh-my-zsh/custom}/plugins/zsh-syntax-highlighting

# 修改 code .zshrc 来配置插件
plugins=(git autojump zsh-autosuggestions zsh-syntax-highlighting)
source .zshrc
个人使用:
主题:
ZSH_THEME="simple"插件:
plugins=(git autojump zsh-autosuggestions zsh-syntax-highlighting)
deepin wine
deepin wine 用于运行微信,QQ 等国内软件。支持的软件请参考 网友贡献
# 安装 deepin wine
git clone https://github.com/wszqkzqk/deepin-wine-ubuntu.git
cd deepin-wine-ubuntu/
chmod 777 install.sh
sudo ./install.sh
微信
从 deepin wine 支持的软件 网友贡献 仓库下载微信。
# 安装微信
sudo dpkg -i deepin.com.wechat_2.6.2.31deepin0_i386.deb  # 这个要改
deepin wine 微信容易出现问题,如中文乱乱码,分辨率,更新等。针对对应问题百度一下就可以解决了。
# 解决分辨率
WINEPREFIX=~/.deepinwine/Deepin-WeChat  /usr/bin/deepin-wine  winecfg
# 解决微信更新问题
wget -qO- https://deepin-wine.i-m.dev/setup.sh | sudo sh
坚果云
直接从坚果云官网下载 linux 版本,下载后可能出现登录界面空白的问题,尝试:
vim /.nutstore/dist/conf/nutstore.properties
# 改 webui.enable=false
vs code
轻量化的码农神器
# 下载 https://code.visualstudio.com/download
sudo dpkg -i install sudo dpkg -i code_1.56.2-1620838498_amd64.deb
桌面美化
# 桌面美化
sudo apt install gnome-tweak-tool
# 添加拓展插件
sudo apt install gnome-shell-extensions
sudo apt install chrome-gnome-shell
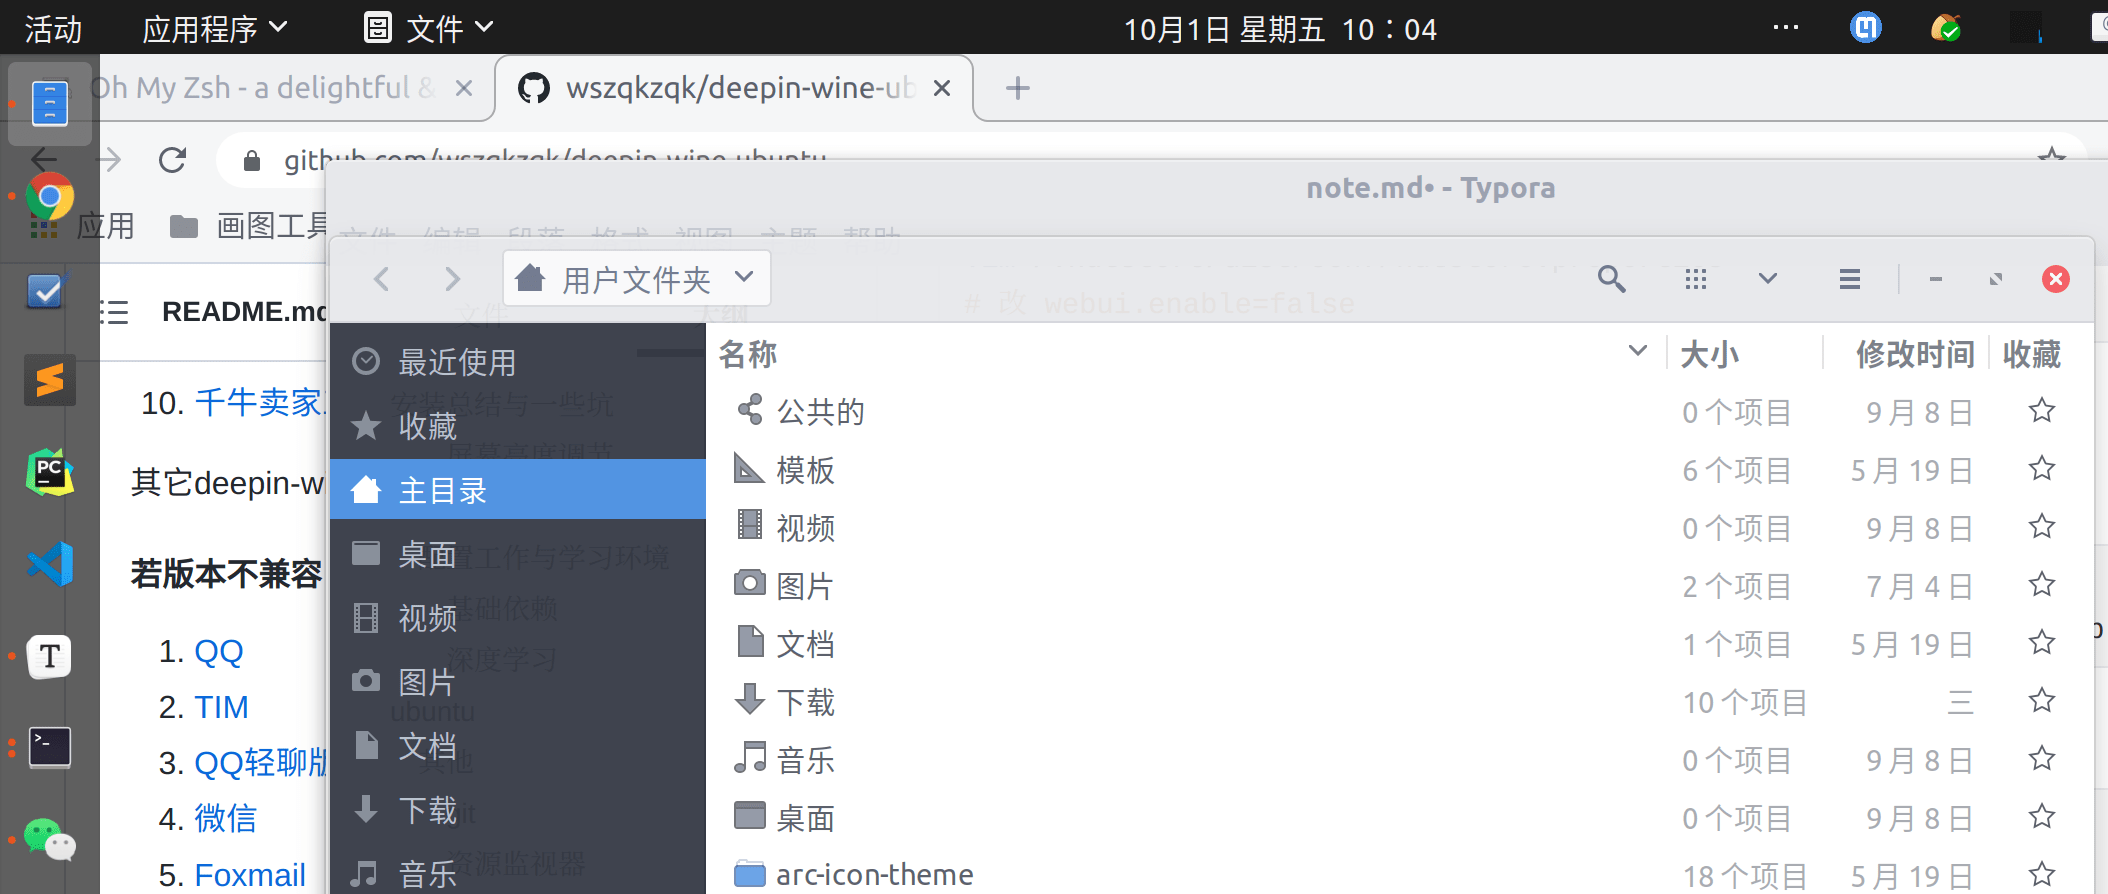
在 gnome tweak tool 中可以设置更换其他桌面主题,推荐个人最喜欢的 arc
sudo apt install arc-theme
arc-icon 有配套的图标可以安装
# arc-icon
git clone https://github.com/horst3180/arc-icon-theme --depth 1 && cd arc-icon-theme
./autogen.sh --prefix=/usr
sudo make install

WPS
个人觉得比 ubuntu 自带的 libreofice 好用。从 wps 官网下载安装
sudo dpkg -i wps-office_11.1.0.10161_amd64.deb
彩蛋安装
# 彩蛋安装
sudo apt install sl
sudo apt install cmatrix
sudo apt install fortunes-zh
sudo apt install lolcat
sudo apt install npm
sudo apt-get install cowsay
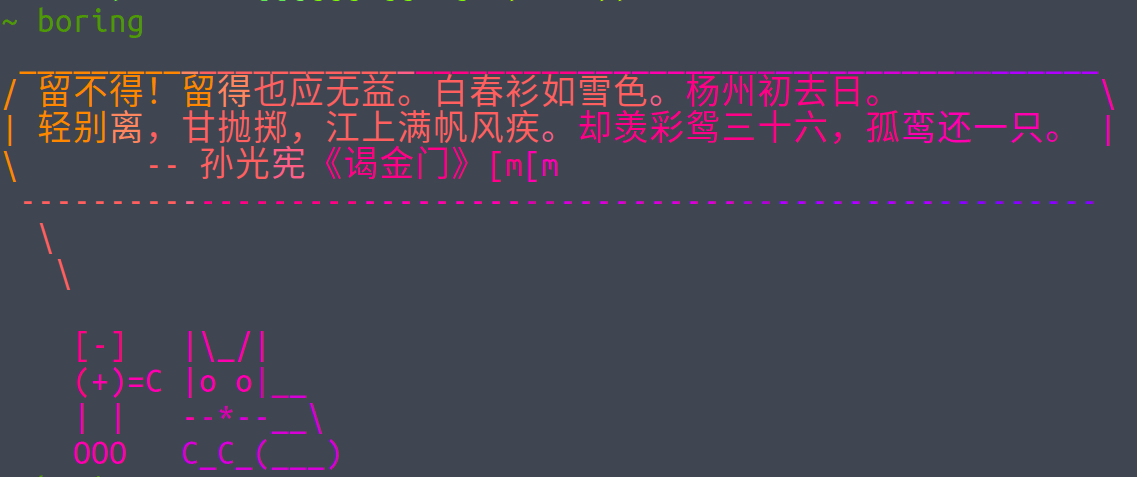
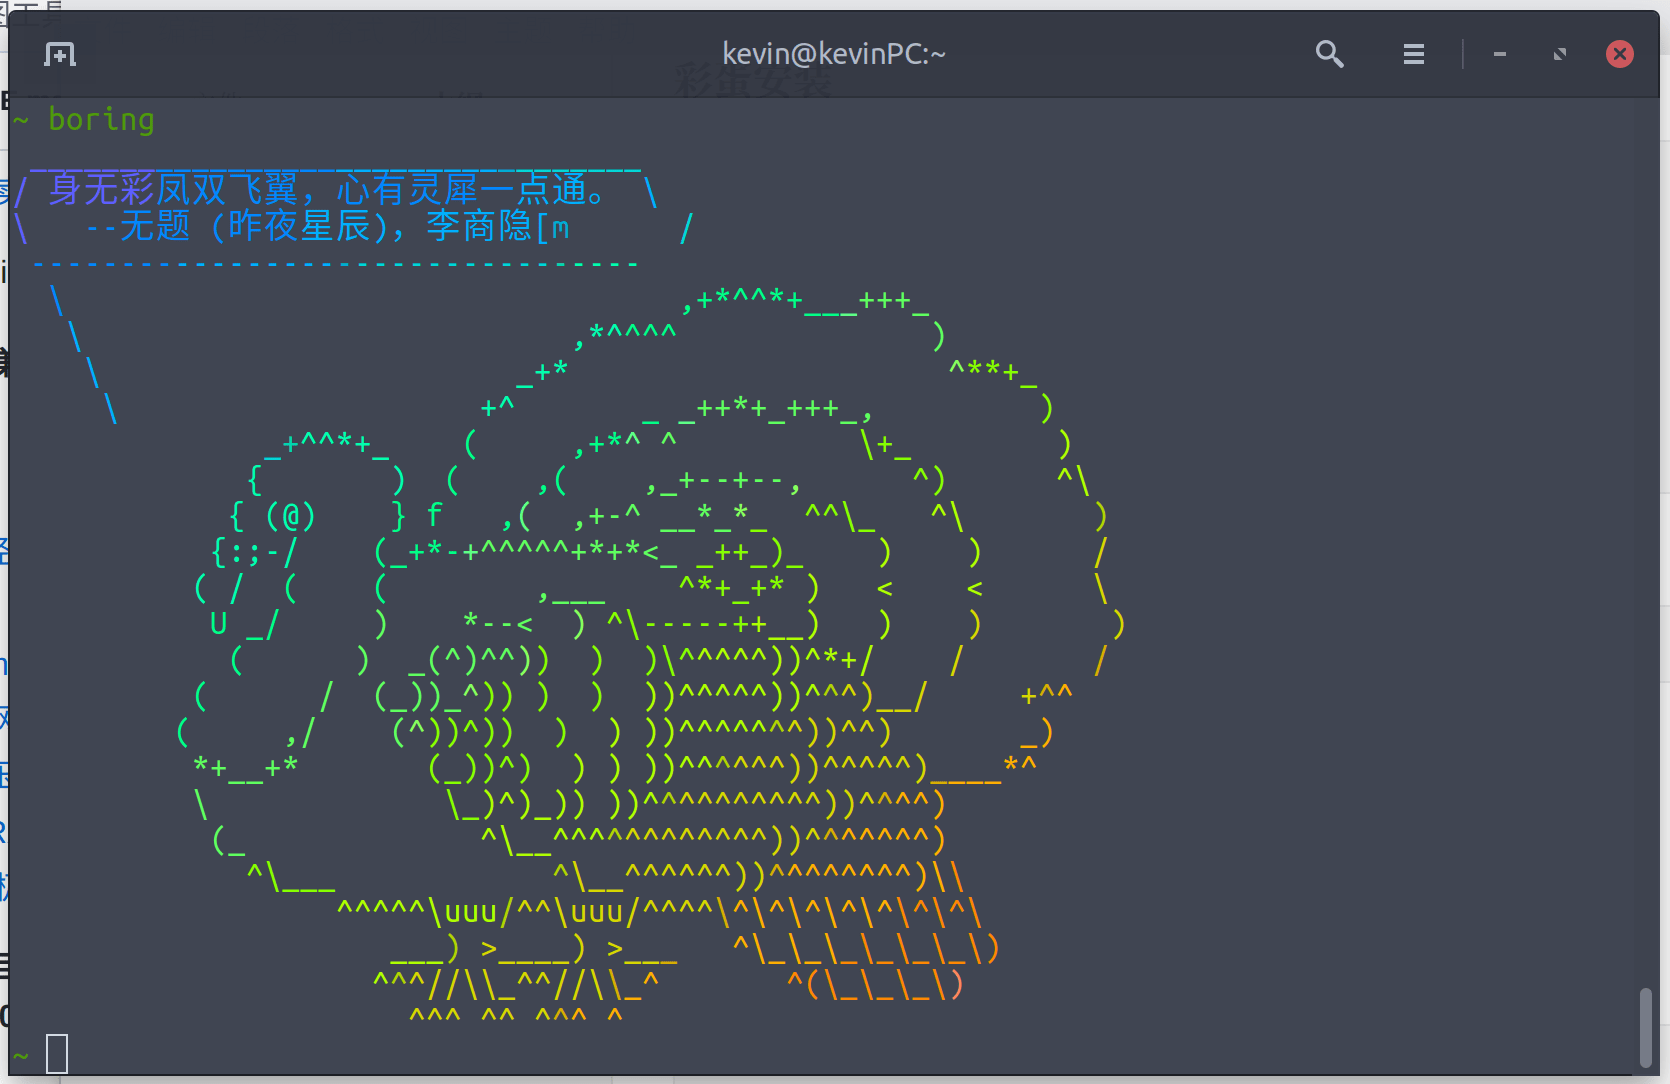
可以组合彩蛋,然后在 oh-my-zsh 中配置一下快捷命令:
alias boring="fortune | cowsay -r | lolcat"
于是在终端敲 boring 就有了:

百度网盘
sudo dpkg -i baidunetdisk_3.5.0_amd64.deb
conda
自动换了 ubuntu 之后就很少使用 conda 了,直接用 docker 更方便。
curl -O https://repo.anaconda.com/mini/Miniconda3-latest-Linux-x86_64.sh
zsh Miniconda3-latest-Linux-x86_64.sh
# 如果以上失败的话可以尝试下面这个
wget https://mirrors.tuna.tsinghua.edu.cn/anaconda/miniconda/Miniconda3-latest-Linux-x86_64.sh
conda 激活 zsh
~/miniconda3/bin/conda init zsh
conda config --set auto_activate_base false
docker
 sudo apt-get update
 sudo apt-get install \
    ca-certificates \
    curl \
    gnupg \
    lsb-release
curl -fsSL https://download.docker.com/linux/ubuntu/gpg | sudo gpg --dearmor -o /usr/share/keyrings/docker-archive-keyring.gpg
echo \
  "deb [arch=$(dpkg --print-architecture) signed-by=/usr/share/keyrings/docker-archive-keyring.gpg] https://download.docker.com/linux/ubuntu \
  $(lsb_release -cs) stable" | sudo tee /etc/apt/sources.list.d/docker.list > /dev/null
 sudo apt-get update
 sudo apt-get install docker-ce docker-ce-cli containerd.io docker-compose-plugin
curl https://get.docker.com | sh \
  && sudo systemctl --now enable docker
distribution=$(. /etc/os-release;echo $ID$VERSION_ID) \
      && curl -fsSL https://nvidia.github.io/libnvidia-container/gpgkey | sudo gpg --dearmor -o /usr/share/keyrings/nvidia-container-toolkit-keyring.gpg \
      && curl -s -L https://nvidia.github.io/libnvidia-container/$distribution/libnvidia-container.list | \
            sed 's#deb https://#deb [signed-by=/usr/share/keyrings/nvidia-container-toolkit-keyring.gpg] https://#g' | \
            sudo tee /etc/apt/sources.list.d/nvidia-container-toolkit.list
sudo apt-get update
sudo apt-get install -y nvidia-docker2
sudo systemctl restart docker
添加 docker 用户
sudo usermod -aG docker username
pycharm
python 神器,个人建议直接从 ubuntu 应用商店里面进行安装,当然你也可以命令行安装
sudo snap install pycharm-professional --classic
修复中文无法输入 pycharm
https://confluence.jetbrains.com/pages/viewpage.action?pageId=173178989 下载 JBRSDK
- 解压 tar zxvf
打开 PyCharm,File–>>Settings–>>搜索框搜索 Plugins、并双击进入–>>在 Plugins 中搜索 choose runtime 点击 install,完成后点击 OK,重启 pycharm
crtl + shift + A 输入 runtime 选择 choose runtime.
- 选择解压后的 jbr 路径
截图工具
按 alt + ctrl + p 开始截图,之后 ctrl+c 复制选中区域,就可以粘贴了。
sudo apt install flameshot
其他工具
其他大部分工具都可以直接在对应软件官网上下载到安装包,如 zoom, webex, subline text, teams, chrome 等。腾讯会议的 linux 客户端叫做 wemeetapp 比较特别。视频播放器推荐 SMPlayer
个人 hexo 博客恢复
先前已经在另外的服务器上安装好了 hexo 博客,将 hexo 博客备份到 git 之后,再把博客环境更新同步到本机上。
# 个人博客
sudo npm install -g hexo-cli
mkdir blog
cd blog
hexo init
git init
git remote add origin git@github.com:kevinng77/kevinng77.github.io.git
git add .gitignore
git commit -m "init"
git branch --set-upstream-to=origin/master master
git pull --allow-unrelated-histories

npm install hexo-deployer-git --save
npm install hexo-server

# 先配置好坚果云路径
sudo rm -r source
cp -r ~/nut/source/ .
系统备份
# 系统备份
sudo su
cd /
tar cvpzf backup.tgz --exclude=/proc --exclude=/media --exclude=/lost+found --exclude=/backup.tgz --exclude=/mnt --exclude=/sys --exclude=/home/kevin/miniconda3 --exclude=/home/kevin/下载 --exclude=/home/kevin/nut /
# 恢复备份
sudo su
tar xvpfz backup.tgz -C /
mkdir proc
mkdir lost+found
mkdir mnt
mkdir sys
mkdir media
或使用 dump 备份